
Mattermost Integration
Enable Incoming Webhooks, Custom Username, and Profile Picture for Webhooks
- Ensure you are logged in as a system admin account on your Mattermost server.
- Check if your Mattermost installation can receive incoming webhooks and set a custom username and profile picture for webhooks.
- Go to "System Console" --> "Integrations" --> "Integration Management".
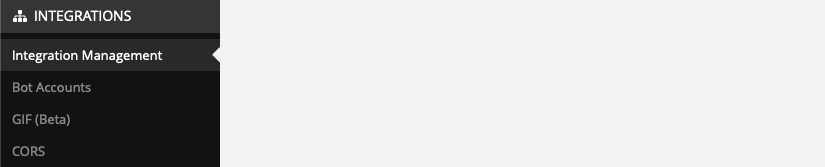
- Go to "System Console" --> "Integrations" --> "Integration Management".
- Ensure the parameters "Enable incoming Webhooks", "Enable integrations to override usernames", and "Enable integrations to override profile picture icons" are set to true.
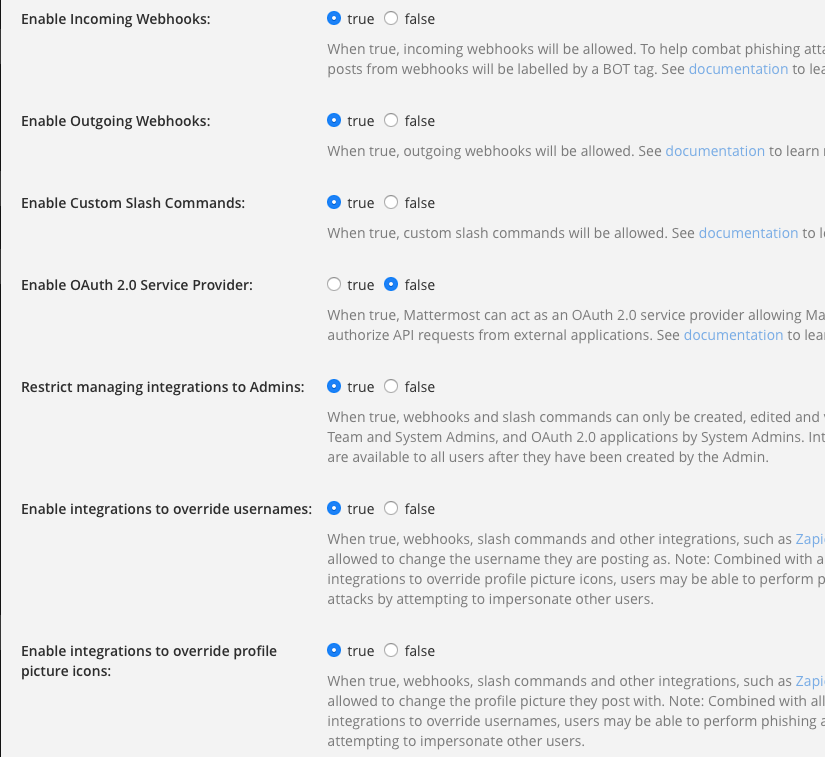
- Ensure the parameters "Enable incoming Webhooks", "Enable integrations to override usernames", and "Enable integrations to override profile picture icons" are set to true.
Set a Webhook in Mattermost
- Ensure you are logged in as a system admin account on your Mattermost server.
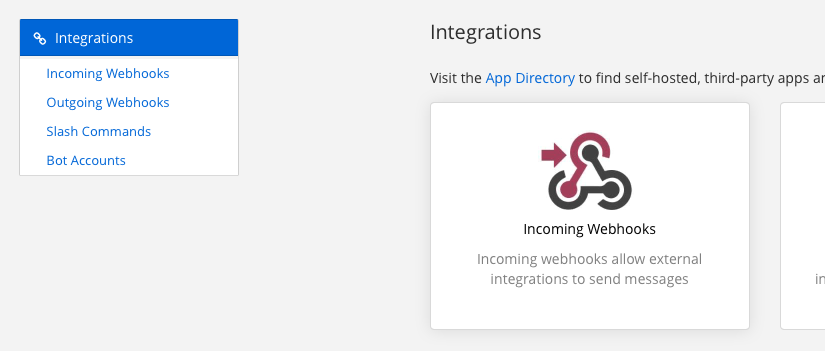
- Go to "Integrations" --> "Incoming Webhooks" --> "Add incoming Webhook".
- Create the incoming webhook:
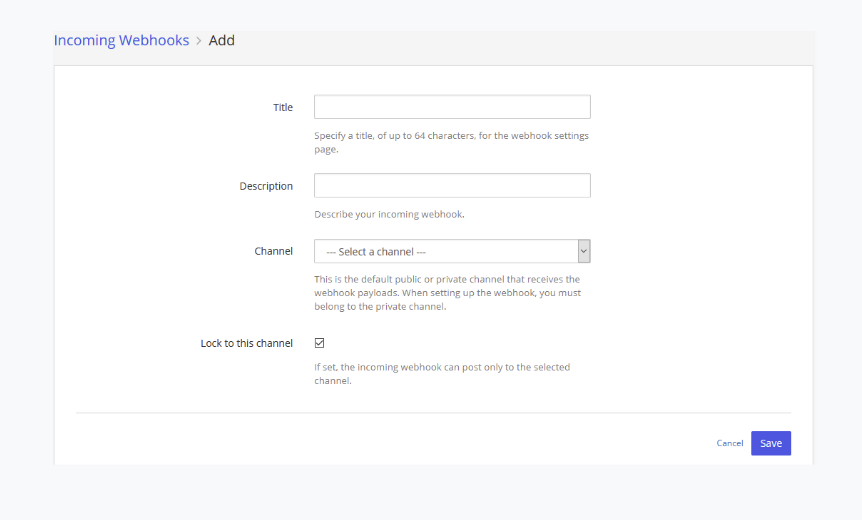
- Title: Kitsu
- Description: Kitsu
- Channel: You can create a new channel or use an existing one because the message will be sent to a user.
- Lock to this channel: Set to False.
- Username: Kitsu (this will be overridden by Kitsu).
- Profile Picture: Not important; it will be overridden by Kitsu.
After clicking "Save", Mattermost will generate a new URL. Copy this URL.
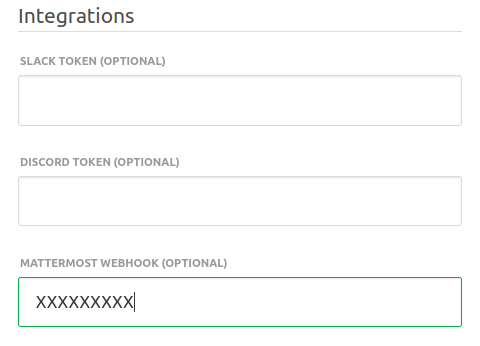
Paste the URL in the "Settings" of Kitsu under the text field "Mattermost Webhooks (optional)" and click "Save settings".
Note: Users who want notifications enabled must be on the same Mattermost server used in these steps.
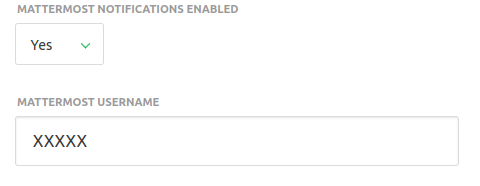
Enable Mattermost Notifications
Each user can set notifications to be pushed to Mattermost in their profile. They need to switch "Mattermost notifications enabled" to "Yes" and enter their "Mattermost username".
You're done!