
Appearance
Discord Integration
Create a Bot Account
- Ensure you're logged on to the Discord website.
- Navigate to the application page.
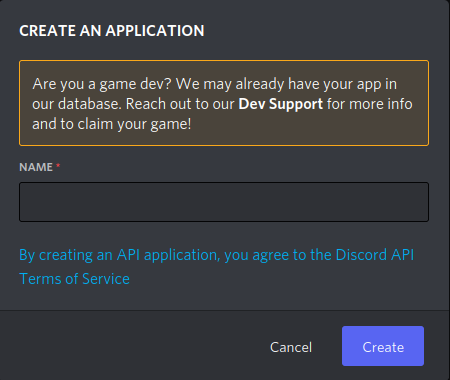
- Click on the "New Application" button.
- Give the application a name (for example, "Kitsu") and click "Create".
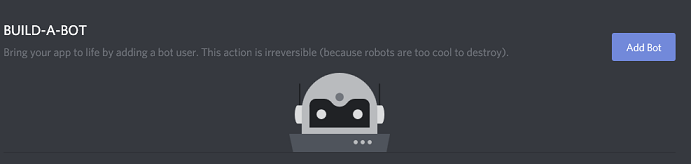
- Create a Bot User by navigating to the "Bot" tab and clicking "Add Bot". - Click "Yes, do it!" to continue.
You can add an icon for the bot by clicking the icon next to "Username". This icon will be used when the bot chats.
Ensure that "Public Bot" is ticked if you want others to invite your bot.

- Ensure the "Server Members Intent" is ticked to allow the bot to see other members.

Copy the token using the "Copy" button.
Paste the token in Kitsu's "Settings" under the text field "Discord token (optional)" and click "Save settings".

Inviting Your Bot
Now that you've created a Bot User, you need to add it to a server. Follow these steps:
- Ensure you're logged on to the Discord website.
- Navigate to the application page.
- Click on your bot’s page.
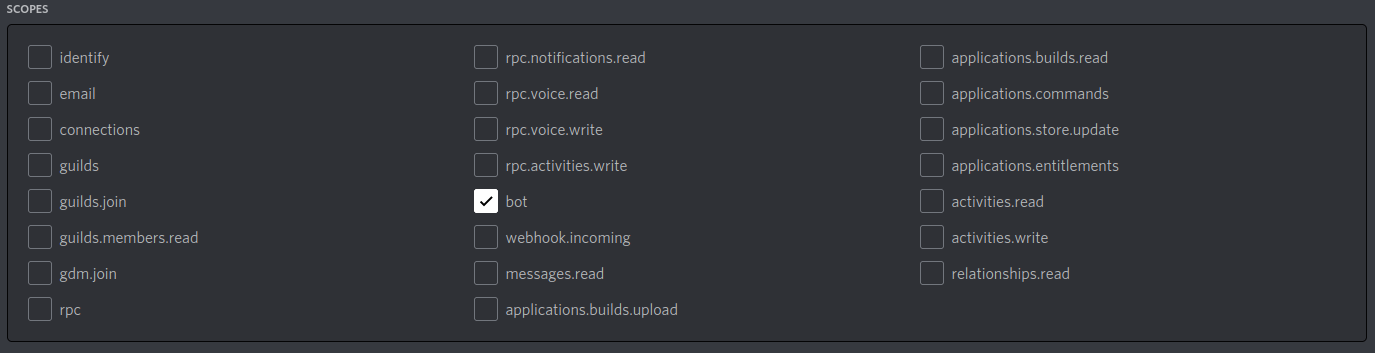
- Go to the "OAuth2" tab and then to "URL Generator".
- In "Scopes", tick "bot" only.
- In "Bot Permissions", tick "Send Messages" only.

- Use the resulting URL to add your bot to a server. Copy and paste the URL into your browser, choose a server to invite the bot to, and click "Authorize".
Note: To add the bot, the person needs "Manage Server" permissions.
Note: Users who want notifications enabled must be on the same server as the bot.
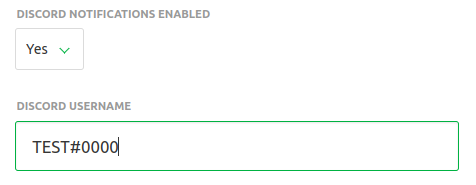
Enable Discord Notifications
Each user can set notifications to be pushed to Discord in their profile. They need to switch "Discord notifications enabled" to "Yes" and enter their "Discord username" (formatted as username#number).
You're done!